 honeygram
One ordinary object.
Another way to see it.
Twelve small photography experiments that begin with something you already have and one change you can compare.
Join the iOS betaFor iOS through TestFlight.
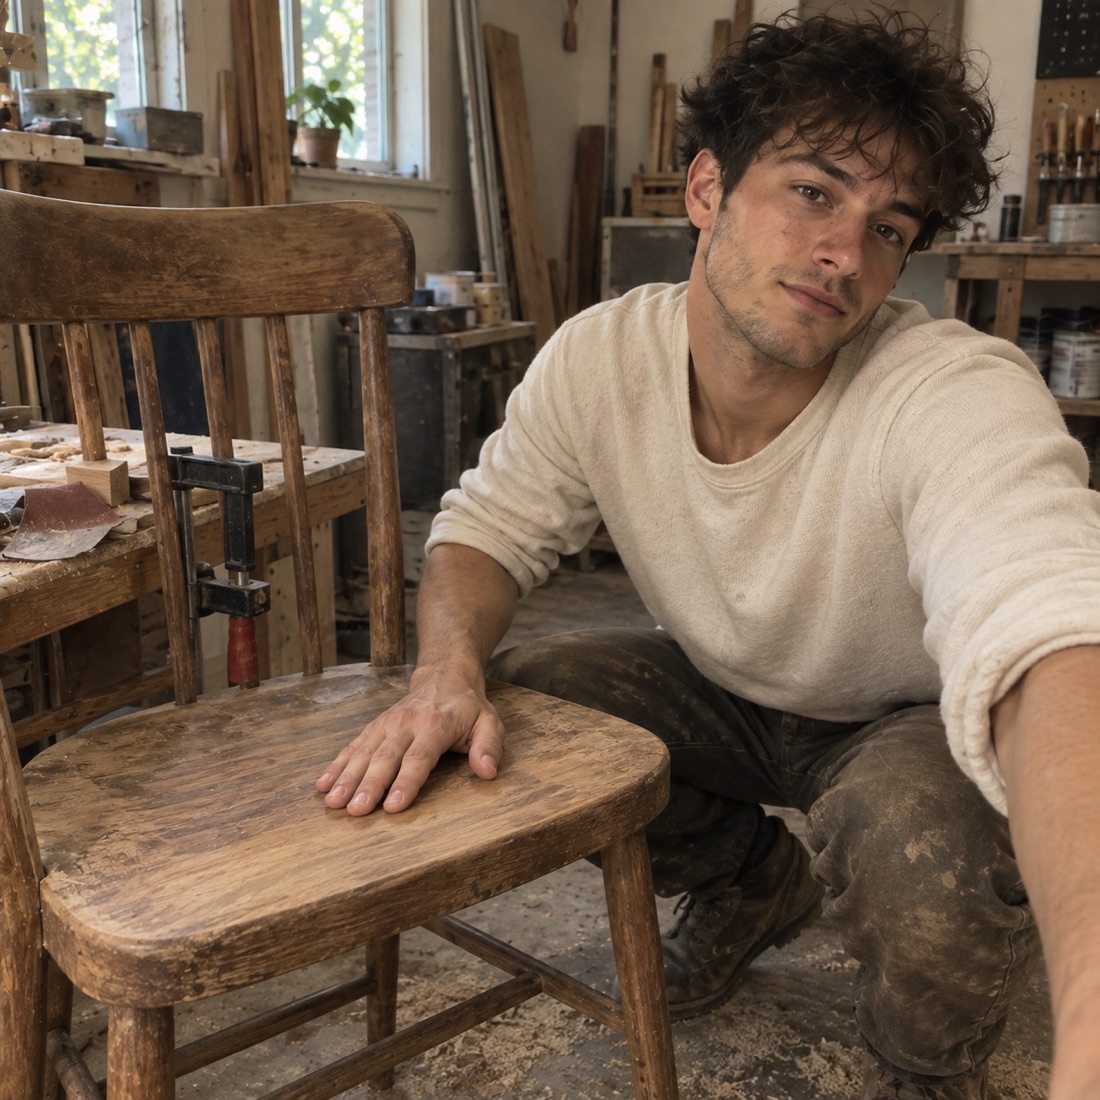
Choose something, then change one thing
Start with an ordinary subject: a cup, a folded cloth, a plant or an unfinished project. Take one picture, change a single choice and take another. Compare what the two frames emphasize. You do not need a new camera, special props or a polished result.
These photography ideas focus on how you show a subject, rather than another list of diary topics. For things to look for on a walk, try the photo scavenger hunt. For a sequence with a story, see photo essay planning.
Four experiments with viewpoint
- Eye level and table level. Photograph a familiar object from above its center, then bring the camera closer to the height of the surface it rests on. Compare which parts become prominent. Keep your position comfortable and the object easy to reach.
- Wide view and one detail. Take a picture that shows the setting, then make a closer view of a specific mark, join or edge. Ask which frame needs more caption context to be understood.
- One step sideways. Photograph an object against its background, then move sideways without rearranging it. Notice which background shapes now appear beside or behind it.
- Recognizable and ambiguous. Make one clear view of an object, then frame a small part so its identity is less obvious. Compare the shapes before thinking about the object’s name.
Four experiments with arrangement
- Centered and off to one side. Keep the same subject and setting, but leave more empty space on one side in the second picture. Ask whether that space adds context or simply distracts you.
- One object and a neighbor. Photograph a cup alone, then place another ordinary object beside it. Notice whether the new relationship suggests scale, use, a shared color or a competing subject.
- A repeated shape and an interruption. Arrange a few similar objects, then change the position of one. Compare what draws your eye first without deciding that either arrangement is automatically better.
- Front and behind. Show two objects side by side, then place one partly behind the other. Record what becomes harder to see and what new connection the overlap suggests.
Four experiments with available light and context
- The same place at two times. Leave an object in a familiar spot and return when the light has changed. Note the times if they matter, rather than assuming the pictures explain the cause of every difference.
- Turn the object. Keep your viewpoint and light source steady while rotating the subject a little. Compare which texture or shape becomes easier to notice.
- Include the reflection. If a nearby window or reflective object already offers a reflection, make one frame with it and one without. Decide whether it clarifies the scene or introduces a useful uncertainty.
- The tidy frame and the working frame. Photograph a project in its actual work area, then make a second framing that leaves most of the surroundings out. Compare what each version says about the process.
These are observation exercises, not camera-setting recipes. Choose the result you find useful; no framing rule guarantees a better picture in every situation.
An original mini project: a cup and a folded cloth
Imagine trying three of the experiments with a cup beside a striped cloth. A wider frame explains that the objects are on a worktable. A closer frame connects a curve in the handle with the cloth’s repeated lines. A step sideways removes a distracting bright object from the background.
Your note might read: “The close frame kept the repeating shapes, but the wide one explained why the cup was there.” That observation is more useful than deciding that the widest or closest picture always wins. The example is an imagined exercise, not a claim that a set of photographs was made for this guide.
Write a short comparison
Use three notes: what changed / what became more noticeable / what the frame leaves unexplained. If the answer is only “this one is nicer,” name the detail that led you there. If you prefer both versions for different reasons, keep that distinction.
Choose one experiment for another day or another subject. A small repeat can help you discover whether the result came from a useful choice or from a detail specific to the first scene. You do not have to turn the exercise into a daily challenge.
Give a selected photo a line of context
After comparing the pair, pick one image and write a caption about the choice. An original example: “I cropped out most of the worktable because I wanted to keep the repeating lines.” A photo journal template can hold a longer note in your own document.
In honeygram, your photo and caption can begin an exchange with AI comments and your replies. You are the only human in your world. These are manual camera exercises, not editing, image-generation, automatic judging or photo-analysis tools added to the app.
A few things to know
Do I need a special camera for these photography ideas?
No. Use the camera you already have and a subject you can photograph comfortably. The exercises compare framing choices rather than require particular equipment or settings.
How are these different from photo diary ideas?
Diary ideas help you choose what moment to record. These exercises help you compare how the same subject looks when you change viewpoint, arrangement or context.
Do I have to keep both pictures?
No. Compare them, note what changed and keep whichever helps your purpose. You can also keep both as part of your own learning notes.